


Cyclists are sons, daughters, mothers and fathers. By showing common courtesy and respect on the road, we can ensure the two-way street is a safe street for all.
Whether you ride for fun or to save money (and the planet) on your daily commute, AAA wants you to pedal with more peace of mind. We’ve organized reliable bicycle safety and maintenance information in one convenient corner of the Web. Even if you prefer traveling on four wheels, it’s a good idea to take advantage of a mini-refresher course on sharing the road with cyclists.
- Your size
- Where you plan to ride. Do you want a road bike? Mountain bike? Or a hybrid?
- What you want to spend.
Bicycle Sizes
There are bicycle frames that comfortably accommodate riders under five feet tall and well over six feet tall. When you go shopping for a road bike, knowing both your height and inseam measurement will help you find the right frame size.Bicycle Frame Height
The correct frame height vaies with the style of bike and the type of riding you do. (The “fit” of a mountain bike is a little more generous than a road bike.) Here’s how to “try on” a bike: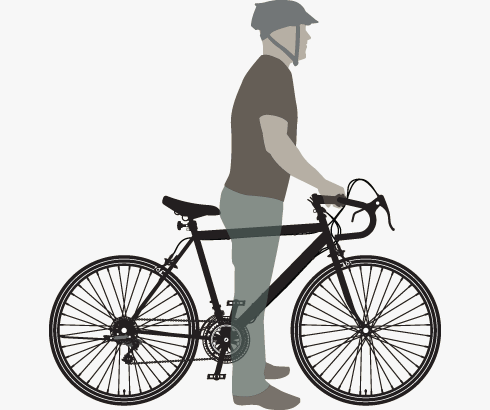 For a men’s bicycle with ‘drop’ handlebars (touring or racing bikes):
Stand flat-footed over the bike. There should be between 1 to 2 inches of clearance between you and the top tube.
For a men’s bicycle with ‘drop’ handlebars (touring or racing bikes):
Stand flat-footed over the bike. There should be between 1 to 2 inches of clearance between you and the top tube.
 For a men’s bicycle with ‘flat’ handlebars (mountain bikes):
For on-road use: Stand flat-footed over the bike. There should be between 1 to 2 inches of clearance between you and the top tube.
For off-road use: Stand flat-footed over the bike. There should be between 3 to 4 inches of clearance between you and the top tube.
For all-around riding: Stand flat-footed over the bike. There should be between 2 and 3 inches of clearance between you and the top tube.
For a men’s bicycle with ‘flat’ handlebars (mountain bikes):
For on-road use: Stand flat-footed over the bike. There should be between 1 to 2 inches of clearance between you and the top tube.
For off-road use: Stand flat-footed over the bike. There should be between 3 to 4 inches of clearance between you and the top tube.
For all-around riding: Stand flat-footed over the bike. There should be between 2 and 3 inches of clearance between you and the top tube.

Seat Height
To find the right seat height: Sit on the saddle of the bike with the pedal at the lowest point on its path of travel.
 Place your heel on the pedal so your leg is fully extended. When the seat is at the correct height, your knee should be only slightly bent.
If you can sit on the bike and plant both feet on the ground, your seat is too low. Adjusting your seat correctly with keep you more comfortable while riding and minimize fatigue.
Place your heel on the pedal so your leg is fully extended. When the seat is at the correct height, your knee should be only slightly bent.
If you can sit on the bike and plant both feet on the ground, your seat is too low. Adjusting your seat correctly with keep you more comfortable while riding and minimize fatigue. Helmets protect cyclists from injuries related to falls, collisions and crashes. Properly fitted helmets are an important safeguard against brain injuries, the most common cause of bicycle-related fatalities.
Many states require that cyclists under 16 wear helmets.
How to Choose a helmet
Properly designed and tested helmets carry a certification sticker from the U.S. Consumer Product Safety Commission (CPSC). Look for this sticker inside the helmet.
How to Fit a Helmet
Read the manufacturer’s instructions. They typically describe how to use the padding to properly fit the helmet.
Your fit should be snug, level and stable. Ensure the helmet covers the head snugly.
Position the edge of the helmet s two fingers above the eyebrows to protect the forehead. The strap should meet in a V shape just below the ears. One finger should fit between the chin and the strap.
With the helmet on your head, try to move it gently from side to side, and back and forth. It should be snug enough to move the skin. If not, use the thicker foam padding provided with the helmet to make it snug. Then tighten the straps with enough room to slide one finger between the strap and the chin.

What Parents Need to Know About Bicycle Helmets
Safety standards for helmets have been raised. Newer designs are also lighter, stronger and better ventilated. Replace older models and the riders in your family will be safer and more comfortable.
Make sure your child’s helmet fits snugly. This is not an item you should buy for a child to “grow into.” Adjust padding, buckles and chin straps to ensure the helmet cannot shift from side to side.
Small children should not wear “aero” shaped helmets.
Bike helmets should only be worn when riding a bike – never on playground equipment or when climbing trees. Helmets may get stuck and cause strangulation.
If a helmet is damaged, replace it. If the foam is compacted, it will not offer the needed protection.
Bells or Horns
Bicycle bells are available in a variety of colors, shapes and ring types. Your bike should be equipped with a bell or horn to alert other cyclists, pedestrians and motorists of your presence.
Lights
Cyclists need to see and be seen. Bicycles must be equipped with both a headlight and taillight for night riding. Some riders mount blinking LED bulbs to front and rear wheel rims for even more visibility to motorists. Blinking LED tail lights are also available.
Reflectors, Reflective Tape and Reflective Gear
Putting reflectors or reflective tape on your helmet, clothing and bike will make you more visible to motorists. Be sure reflectors are not obscured by bags or clothing when you are on the bike.
Hand Brakes
Hand brakes will help you brake quickly. Remember to allow extra distance for stopping in bad weather or road conditions.
Footwear
You can cycle in almost any sensible, flat shoe. Just be sure to tie your shoelaces. However, you will be most comfortable in running shoes or cycling shoes, which minimize cramping and fatigue. Never ride barefoot or with flip-flops.
Clothing
For maximum visibility, wear light colored or reflective clothing and shoes. Several manufacturers offer bright gear and lightweight, reflective clothing such as vests and jerseys for night cycling.